 |
| Moon and the Stars ~ from my sketchbook ~ by Jane LaFazio |
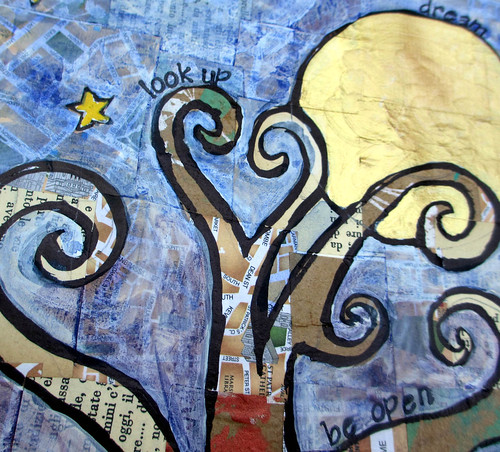 |
| detail of Moon and the Stars ~ from my sketchbook ~ by Jane LaFazio |
And here's how I created the page:
 |
| cut up squares of collage paper |
 |
| collage them, mosaic style, on your page (I glued two of my sketchbook pages together, to make it a heavier weight paper) |
 |
| Use matte medium or Mixed Media Adhesive to glue them down |
 |
| make sure they well adhered and flat |
 |
| OOPS!! |
 |
| cover the page and let it dry completely |
 |
| draw your image in pencil first |
 |
| Use a sharpie to create a heavy outline |
 |
| outline the whole drawing and erase the pencil |
 |
| Use diluted gesso and paint the areas you want to cover |
 |
| Daniel Smith Gesso, of course. |
 |
| I left the tree unpainted. |
 |
| paint in the shapes |
 |
| paint the moon shiny gold! |
 |
| in progress |
 |
| I diluted the paint with water, to make sure you could see the collage underneath |
 |
| in progress |
 |
| in progress |
 |
| in progress |
 |
| letter stamps |
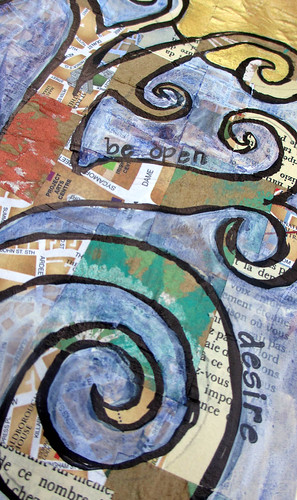 |
| detail of Moon and the Stars ~ from my sketchbook ~ by Jane LaFazio |
 |
| detail of Moon and the Stars ~ from my sketchbook ~ by Jane LaFazio |
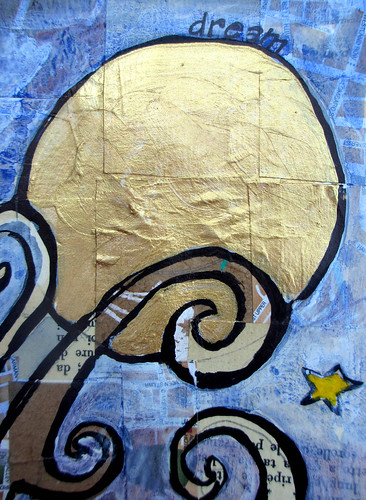 |
| detail of Moon and the Stars ~ from my sketchbook ~ by Jane LaFazio |
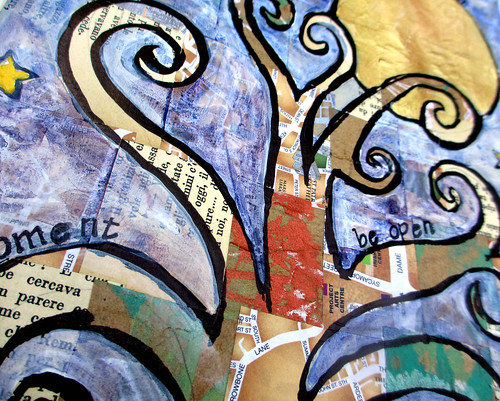 |
| detail of Moon and the Stars ~ from my sketchbook ~ by Jane LaFazio |
 |
| detail of Moon and the Stars ~ from my sketchbook ~ by Jane LaFazio |
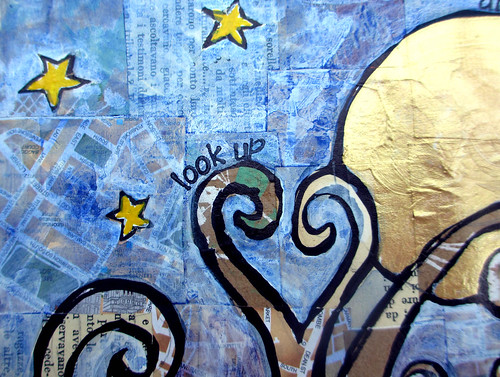 |
| detail of Moon and the Stars ~ from my sketchbook ~ by Jane LaFazio |
Hope you enjoyed this tutorial!


LOVE seeing the creative process....How's that gesso brand?
ReplyDeleteDaniel Smith Gesso is very nice! creamy and smooth!
DeleteThis I like. This I think I can handle.
ReplyDeleteJane, thank you for sharing your process! I am enjoying Sketchbook Challenge and I love this theme! I hope to try a collage using your lead.
ReplyDeleteJane, thanks for the tutorial. Always look forward to seeing your process.
ReplyDeleteThank you...this will be a fun, fun day of art play!
ReplyDeleteThanks for showing the step by step creation. Lovely piece.
ReplyDeleteLovely. And very quilt-like.
ReplyDeleteLove this - and think I am going to give this a try. I'm not a gifted drawler, but maybe could do this.. Laughed at the "oops" moment - even pros spill stuff, apparently!
ReplyDeleteThanks for sharing the process - generous!
This is a wonder and beautiful page!
ReplyDeleteHow sweet!
I like your step by step pics!
What a fun idea! Love it. :D
ReplyDeleteLove seeing the process! looking forward to trying it and the Daniel Smith products too.
ReplyDeleteThank you for such a GREAT tutorial!! I so appreciated the step-by-step photos and showing us all the products you used. Because of your detail and thoroughness, I believe it will be much easier to follow your guidance in creating my own journal page.
ReplyDeleteLOVE it! Simply LOVE it!!
Thank you so much for sharing this! Very inspiring!
ReplyDeleteJust lovely Jane!
ReplyDeleteFabulous page and thanks for showing the steps to making it! Chris
ReplyDeletewow-great seeing the progress!
ReplyDeletexo
lynn
I really appreciate a well-done tutorial such as this. Thank you! Your steps all make sense and are quite adaptable to the imagery of our choice. I love it!
ReplyDeleteThis is awesome love to see loads more of your work
ReplyDeleteThanks for that Jane...I'll be using that technique very soon.
ReplyDelete