 |
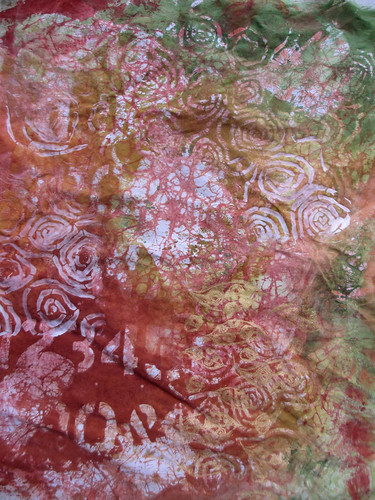
| Some of my flour paste resist dyed cloth |
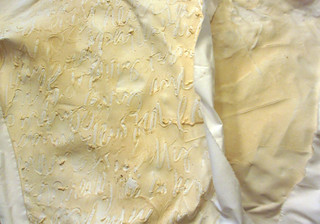
I think I got this recipe, originally from Jane Dunnewold. I'd been wanting to try it for a long time.
Flour Paste Resist
Mix
1 cup ordinary white flour with 1 cup cold water (not hot, or the paste will be
gluey) and stir until the lumps are gone. Pour the paste over the top of your
fabric. Spread it over the fabric with a squeegee.
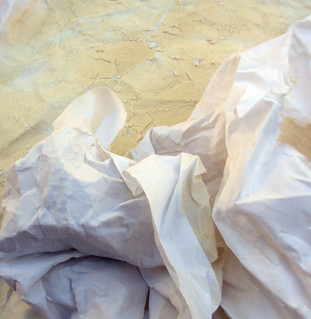
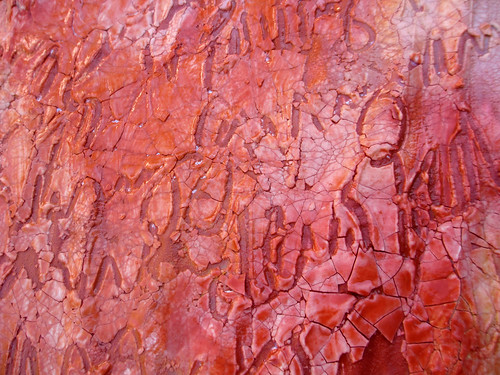
Make sure you haven't missed any spots. At this point, you can let the paste dry thoroughly, and it will form a simple crackle. Or, you can use a skewer to draw designs in the paste, then let dry. When the paste has dried completely, gently scrunch the fabric up, crackling the hardened paste.
Make sure you haven't missed any spots. At this point, you can let the paste dry thoroughly, and it will form a simple crackle. Or, you can use a skewer to draw designs in the paste, then let dry. When the paste has dried completely, gently scrunch the fabric up, crackling the hardened paste.
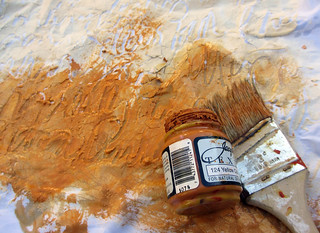
Apply a coat of thinned textile or craft paint over the flour surface, working it into the cracks and let the paint dry completely.
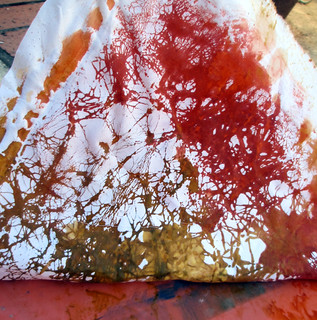 |
| This is what the back of the fabric looked like when it was still wet with paint. |
Wait
at least 24 hours for the paint to set, and then soak the fabric in warm water
until the paste dissolves. Wash in the washing machine to fully remove the
paste. Dry in the dryer and press with a hot iron. Use as is, add more paint,
or over-dye.
As you'll see, I did the whole process a second time for a second layer.
As you'll see, I did the whole process a second time for a second layer.
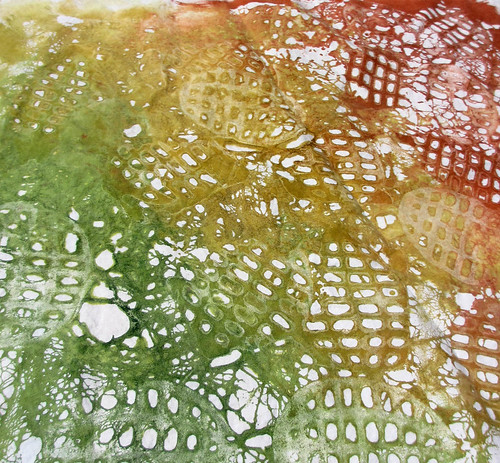 |
| Cloth with one round of flour paste resist. |
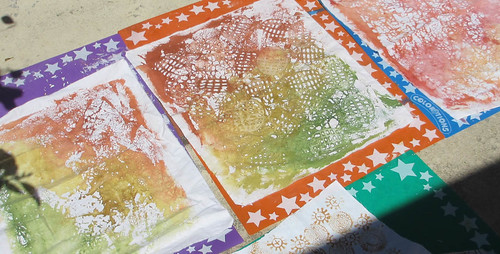 |
| Here they are with just one layer of color, awaiting the second application of flour paste resist |
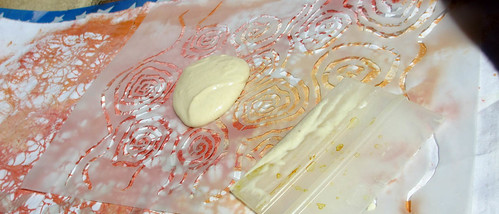
Stencil Girl Products "Eddy Rose" stencil.
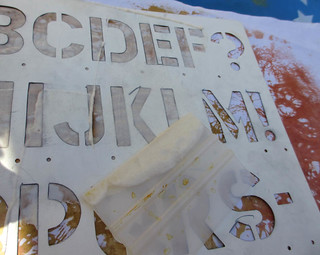 |
| Stencils worked great |
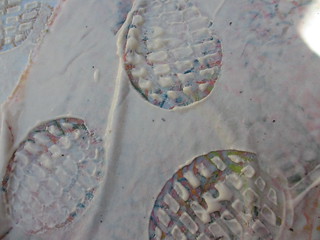 |
| I stamped with a potato masher |
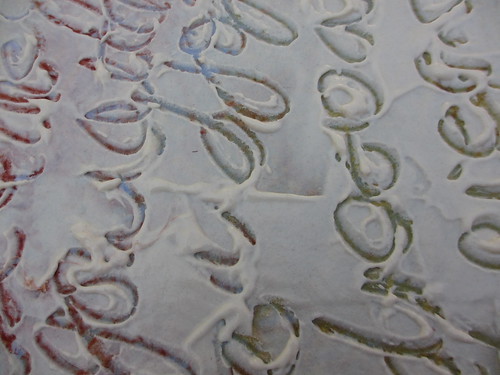
Wrote with the end of the brush
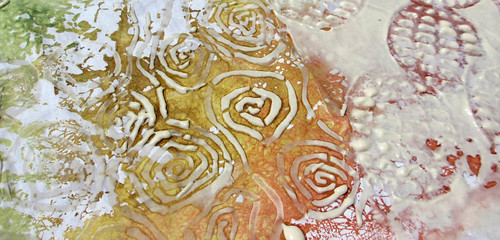
Let the second layer of flour paste resist dry overnight.
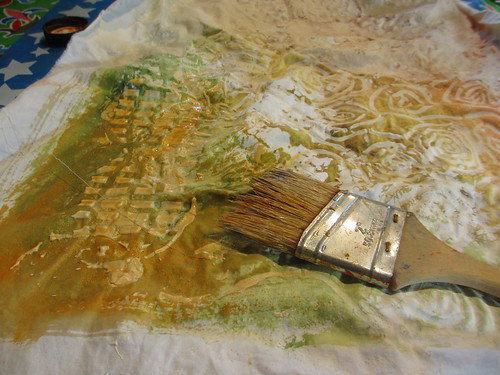 |
| Second layer of flour paste resist and dye. |
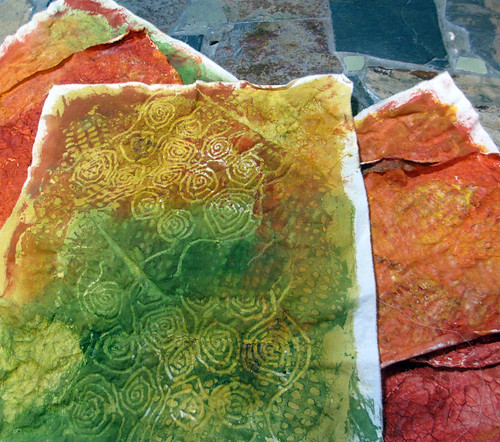 |
| Let dry at least 24 hours, longer is better. |
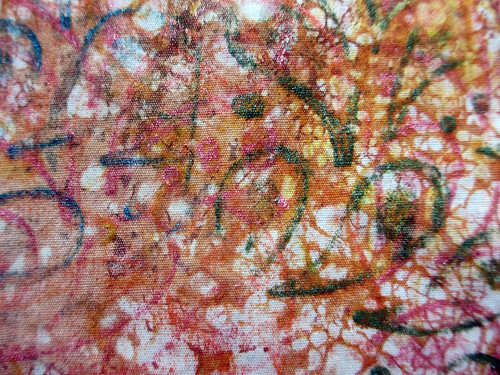 |
| Shiva PaintStiks rubbing as first layer and one resist dye |
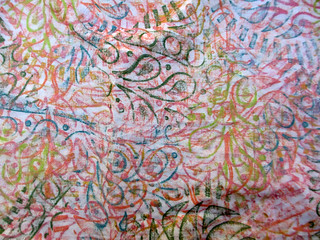 |
| PaintStiks only |
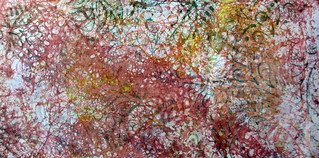
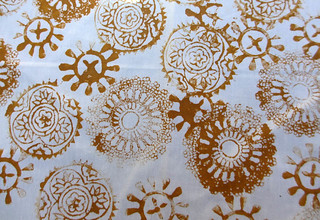 |
| first layer |
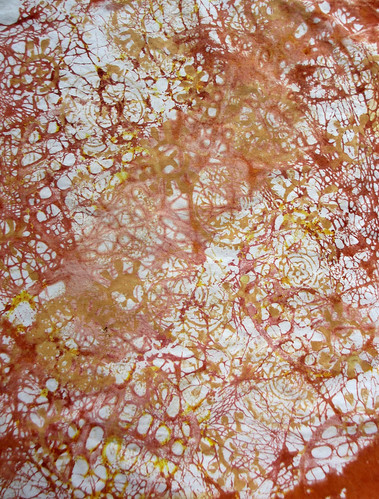 |
| I stamped with F&W Acrylic Ink, then one resist dye. |
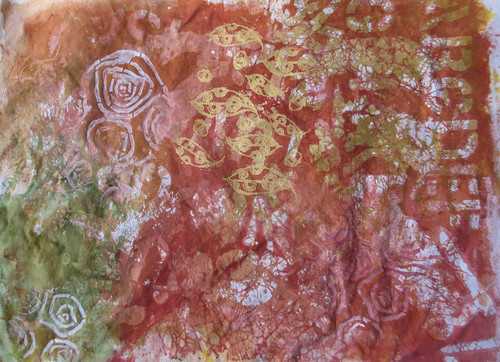
Can you spot my Eucalyptus Leaf thermofax screen?
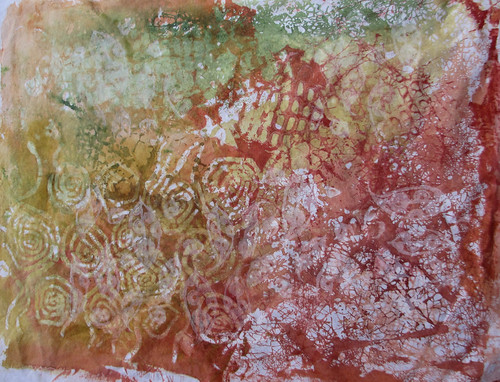
I used transparent SetaColor and Jacquard Textile paints on white cotton muslin (that I did not wash beforehand.)
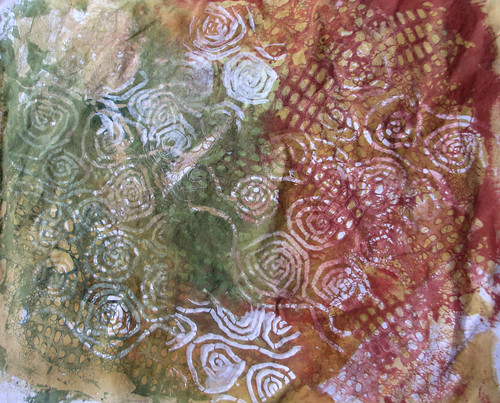
The whole process was easy, non-toxic, and fun. I'll keep you posted on what I do with the fabric. Have you done flour paste resist before?

Ooh, I read about a technique similar to this in an old batik book I have and have been meaning to try it for a while, will definitely have to after seeing your post, the fabrics you've produced are gorgeous!
ReplyDeleteNo, I haven't tried this technique but your photos and description are very enticing. It looks to be a very tactile process like finger painting. My inner child wants to play with you!
ReplyDeleteI love the colors you used and the texture! Gorgeous!
ReplyDeleteI would be finger painting! I would experiment with adding paint and/or dye to the flour paste... I would have so much fun I would forget to eat....
ReplyDeletedarn... if I'm out of flour, can I use anything else?
WOW, thank you for showing how you do this - I will try soon one day..... This looks so great an you are so creative. Just love your work :-)
ReplyDeleteI have done flour paste resist and loved the effects. Yours are very textured with the 2 layers though. I didn't try that.
ReplyDeleteThey're beautiful!
Thanks for sharing, great results.
ReplyDeleteThis is one of the techniques I need to find time to try! I wonder if it would work with thickened dyes as well as it does with textile paints... I really love the fabrics you created with flour paste!
ReplyDeleteI have a question...can't flour paste get buggy eventually? Don't you have to add salt to keep the bugs away? Just curious.
ReplyDeleteJanine, you just leave the paste on overnight. then wash it away. no chance for bugs...
ReplyDeletethanks everyone! it really was fun and I will do more. it's easier than baking with flour! :-)
Easier than baking--like that! Used to bake cakes but got foiled when I moved to high altitude Colorado. Thanks for this great tutorial. One question--when you wash in washing machine do you use detergent? And what temp?
DeleteI don't wash them in the washing machine. Just rinse by hand.
DeleteYAY!! Was looking for something messy to do this summer. Found it!lol
ReplyDeleteLooks awesome gotta have to try it. thanks for sharing it!
Andrea.
how fun!!!! This would be a great project to do with my students. Inexpensive materials and each 1 hr lesson/week we could do another layer/step- allowing a week to dry/ wash and dry.Thank you for sharing!
ReplyDeleteI once wanted to try batik - no money for wax, no money for fabric.
ReplyDeleteFlour in the pantry, water in the tap, cloth nappies/diapers in the cupboard.
Result? Flour and water resist and an even more interesting baby!
Al this was about 38 years ago.
I love using flour paste resist - it's the most economical of the resists out there! One caution I've heard is if you apply the flour paste to your fabric and don't get back to it for a while AND if you leave your work in an outside area, such as your garage, mice may find it and devour it! But then, the mouse tracks will add an interesting effect too! LOL
ReplyDeleteThanks for the great tute Jane!
xo
You are so inspiring Jane! Do you ever sleep?!?
ReplyDeleteWhat wonderful results! Thanks for sharing this technique!
ReplyDeleteGreat tutorial Jane! I have been wanting to try flour resist, and your pieces REALLY make me want to do it now. You make it sound so easy. Thanks!
ReplyDeleteHave been searching for an idea to make splotchy birds' egg fabric. This might be it! Thanks--
ReplyDeleteThis reminds me that the joy of creating is also in the element of chance, What a cool way to play with 'surface'. I know this will add to what I do. Thanks. Please stop by and see what I do @ kbartdesigns.com
ReplyDeleteLove this, have to try it! Thanks for the tutorial.
ReplyDeleteI have found the flour easier to wash out if you use 1/2 rice flour and 1/2 regular wheat flour. MUCH easier!
ReplyDeleteComplimenti per i suoi tutorial davvero interessanti.la invito a seguire il mio blog ilmondodidea.blogspot.com
ReplyDeleteovviamente se lo ritiene interessante,Saluti dall'ITALIA.