Tuesday, November 12, 2013

hand made journal ~ from a cereal box

Journal~ made by me
Cereal Box Journal ~ by Jane LaFazio
I recently returned from a retreat in New York. I took this hand made journal with me, and wrote and drew and added photos to it, during the retreat.
Journal~ made by me
Cereal Box Journal ~ by Jane LaFazio
Journal~ made by me
 detail Cereal Box Journal ~ by Jane LaFazio
Yes, it's made from cereal box cardboard.
Journal~ made by me
Cereal Box Journal ~ by Jane LaFazio
Journal~ made by me
Cereal Box Journal ~ by Jane LaFazio
Journal~ made by me
 detail Cereal Box Journal ~ by Jane LaFazio
Journal~ made by me
 detail Cereal Box Journal ~ by Jane LaFazio
Journal~ made by me
Cereal Box Journal ~ by Jane LaFazio
Journal~ made by me
 detail Cereal Box Journal ~ by Jane LaFazio
I did a spread  for each day, wrote in it during class, and painted in watercolors (my Daniel Smith watercolors, of course!)  in it in the evenings. It was a very rewarding exercise, having an 10 page journal, specifically for the retreat.
Journal~ made by me
 detail Cereal Box Journal ~ by Jane LaFazio
Journal~ made by me
Cereal Box Journal ~ by Jane LaFazio
Journal~ made by me
 detail Cereal Box Journal ~ by Jane LaFazio
Journal~ made by me
 detail Cereal Box Journal ~ by Jane LaFazio
I'll be offering an online class in January, on how to make Cereal Box Journals. It will be filled with lots of ways to make the concept your own. I'll keep you posted!

I'm using my Jane LaFazio  FULL watercolor kit, from Daniel Smith Fine Artist Materials, to sketch and watercolor in my journal. (There is a basic kit and a travel kit too!)

Sunday, November 10, 2013

From my sketchbook ~ the moon and the stars ~ and a tutorial!

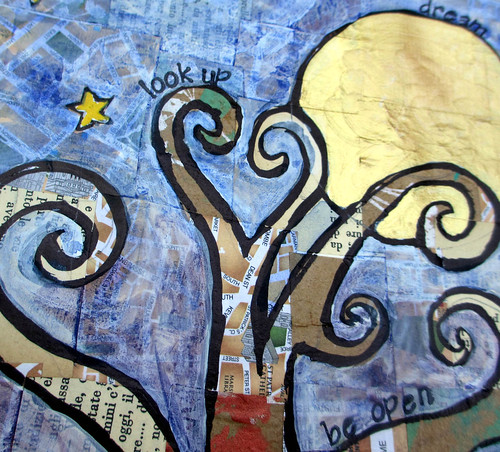
Moon and the stars
Moon and the Stars ~ from my sketchbook ~ by Jane LaFazio
I was inspired by this month's Sketchbook Challenge theme of Moon & Stars, to create this page.
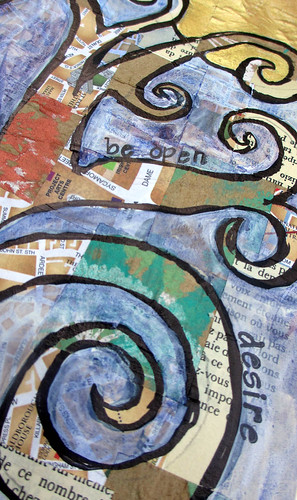
Moon and the stars
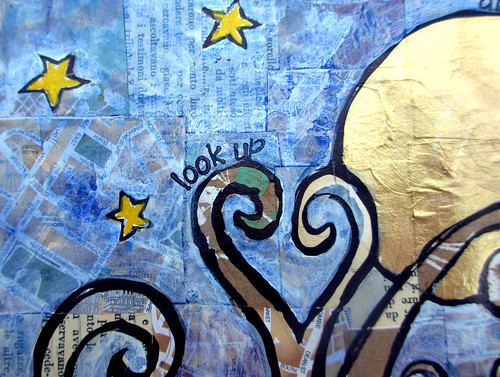
 detail of Moon and the Stars ~ from my sketchbook ~ by Jane LaFazio
And here's how I created the page:
cut up squares of collage paper
collage them, mosaic style, on your page
(I glued two of my sketchbook pages together, to make it a heavier weight paper)
Use matte medium or Mixed Media Adhesive to glue them down
make sure they well adhered and flat
OOPS!!
cover the page and let it dry completely
draw your image in pencil first
Use a sharpie to create a heavy outline


outline the whole drawing and erase the pencil
Use diluted gesso and paint the areas you want to cover
Daniel Smith Gesso, of course.


I left the tree unpainted.


paint in the shapes
paint the moon shiny gold!
in progress

I diluted the paint with water, to make sure you could see the collage underneath
in progress
in progress
in progress
letter stamps

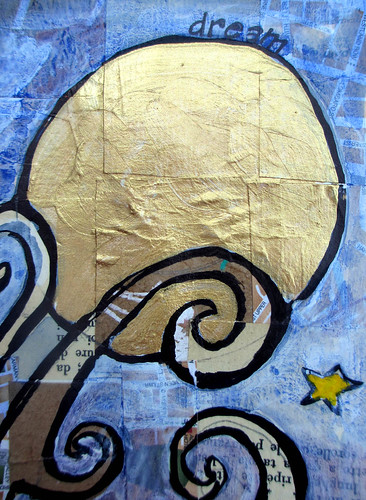
Moon and the stars
 detail of Moon and the Stars ~ from my sketchbook ~ by Jane LaFazio
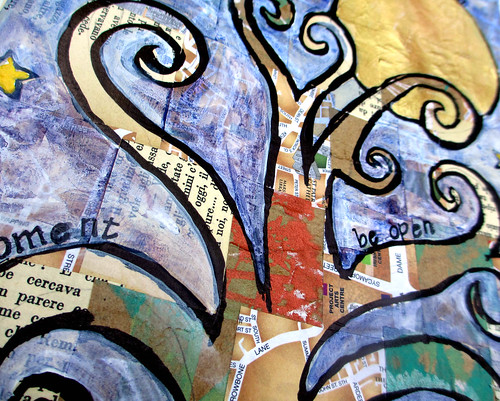
Moon and the stars
 detail of Moon and the Stars ~ from my sketchbook ~ by Jane LaFazio

Moon and the stars
 detail of Moon and the Stars ~ from my sketchbook ~ by Jane LaFazio

Moon and the stars
 detail of Moon and the Stars ~ from my sketchbook ~ by Jane LaFazio
Moon and the stars
 detail of Moon and the Stars ~ from my sketchbook ~ by Jane LaFazio
Moon and the stars
 detail of Moon and the Stars ~ from my sketchbook ~ by Jane LaFazio
Hope you enjoyed this tutorial!

Friday, November 08, 2013

Grateful! tutorial

20131104-IMG_8456
grateful tags ~ by Jane LaFazio
In America, Thanksgiving is coming up. I thought a meaningful activity for a Thanksgiving dinner would be to have each person write what they are grateful for on tags, and hang them in a tree outside or a branch inside. I made these as a gift for some friends of ours, who usually have 22 for Thanksgiving dinner! I can imagine them doing this activity, and then tying the tags on their tree in their front yard.
20131104-IMG_8441
grateful ~ by Jane LaFazio
I'll show you how I created these tags, and feel free to be inspired and make your own, with whatever materials you have on hand. I'll give you the list of supplies at the end of this post.
20131104-IMG_8405
remove the strings from standard shipping tags
20131104-IMG_8407
In your garage, or well ventilated area, use spray paint and stencils

20131104-IMG_840820131104-IMG_8412
Use two or three colors of spray paint, spraying only part of the stencil. Layer the stencils and the colors.

20131104-IMG_841320131104-IMG_8414
Spray one side, then turn the tags over and do the other side
20131104-IMG_8430  20131104-IMG_8428
Use colorful yarn or ribbon and add to the tags.
 20131104-IMG_843420131104-IMG_8433


20131104-IMG_8437

20131104-IMG_8440

20131104-IMG_8465

You can stamp whatever you'd like on the tags. Or, if you don't have stamps, you could write with permanent pen.
20131104-IMG_8443
I had a date stamp, so I added the date for Thanksgiving on the back
20131104-IMG_846020131104-IMG_8466
I've giving this as a gift, so I included 25 tags, and a couple of permanent pens so the guests could write on the tags. As I mentioned, it would be nice for each person to write what they are thankful for on the tags.
20131104-IMG_846720131104-IMG_8473
Gift wrapped, including a tag. I'll write the 'directions' on the back of the tag.
20131104-IMG_8453
grateful tags ~ by Jane LaFazio
20131104-IMG_8444
grateful tags ~ by Jane LaFazio
Supplies for this project:

Related Posts with Thumbnails