Sunday, October 31, 2010

Houston International Quilt Festival

square
detail 1
Houston International Quilt Festival:
Thursday 11/4
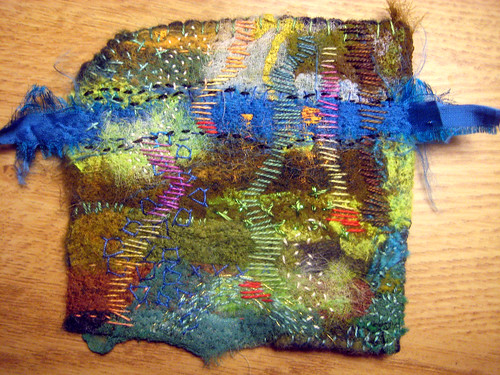
Make-It-University 6-7pm Hand stitching.I'll demo my machine needle-felting and you'll get a ~4x4" piece to hand embellish. (on the convention room floor, registration by lottery)
Friday evening 11/5, Open Studios from 5-7pm (near Make-It-University) (free)
foam tiles
Saturday, 11/6
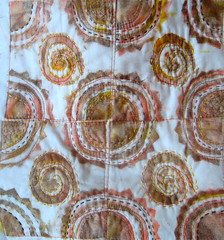
Make-It-University 11:45-12:45 Rubbings with Paintstiks (on the convention room floor, registration by lottery)
5:30-7:00 Surviving the Runway: Carmen Miranda Style
7-9:30pm: gala on the green
Sunday, 11/7 I'll be volunteering at the Studio Art Quilts Assoiciates exhibitions from 1-3pm

Friday, October 29, 2010

Texture!

needs a title...
 I love Lisa Kesler's work. She had a article in Cloth Paper Scissors (May/June 2010) with her prints on wood and I bought one from her. In the recent Sept/October 2011 issue of CPS, I admired an article on textured work, done with moulding paste, and image my surprise when it was Lisa's work again! So, here's my take on it. I followed the directions in the article. This is 8x8" and clearly not my usual style (hmm, and what would my usual style be??) It was fun to do and I'll do more!

Wednesday, October 27, 2010

Houston Quilt Festival, I'm almost ready...


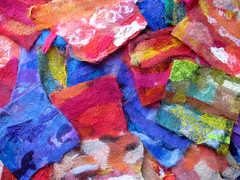
I'll be doing a Make-It-University one hour workshop on Thursday, November 4, from 6-7pm at Houston International Quilt Festival  and here is some of my preparation. In the workshop (registration onsite, by lottery) I'll be demoing how I create the machine needle felted base for my hand stitching. Each student will get one of these (~4x4" needle-felted orginals by yours truly) to stitch on and then take home. So, you'll learn how I make these. 

Monday, October 25, 2010

My quilt at Quilt Visions 2010

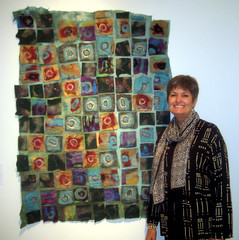
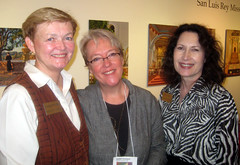
 Me and my quilt at the Quilt Visions Biennial International Exhibition at Oceanside Museum of Art. The exhibition runs through March 13, 2010 and it's a must see. Thirty nine quilts from 600 entries.

My quilt is in FINE company

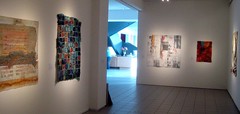
 My piece is on the left at the Oceanside Museum of Art.

Quilt Visions 2010~ this weekend

 At the artist's breakfast on Sunday, Charlotte Bird, President of Visions Textile Museum (Quilt Visions), Judith Content, past president of Studio Art Quilts Associates (SAQA) and moderator of the panel on Sunday, and Beth Smith, Executive Director of Visions Textile Museum.

my audience at Quilt Visions

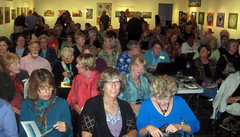
 I was honored (extremely honored) to be included in Sunday's panel as part of Quilt Visions exhibition weekend. Judith Content moderated, and panelists Katie Pasquini-Masopust, Deidre Adams, Gloria Hansen and me. Did I get a photo of the panel, no..but here's the audience before we started! about 100 people.
As I look at this photo, I'm still stunned to have been sitting up there! really. I think it's just sinking in now, which is probably a good thing, or I would have been a wreck. Deidre showed her 10 minute power point presentation first, then Gloria, and I'm thinking, OMG, what am I doing here?? Then it was my turn (by the way, my first power point presentation in my life) and I figured, WTH, I can just be myself. I've worked hard to be where I am today, and even though, compared to the accomplishments, awards, body of work, books... of the other women on the panel, I'm a rookie-pip-squeek...  I must bring something to the table, if it's only chutzpah!!

published in Cloth Paper Scissors

 
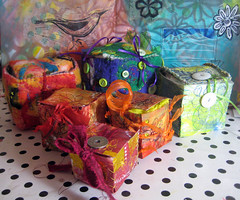
My boxes are published in Cloth Paper Scissors, the latest issue, Nov/Dec 2010.

Friday, October 22, 2010

Recycled Circles Revisited


I taught at Art Unraveled this past August (always lots of fun and a great experience) and one of my classes was "Recycled Circles." You can see some of the student work here. Four of the delightful students in the class, became instant friends and decided to do a collaborative Recycled Circles project. One picked the fabric, one the papers, one  the threads and one the embellishments, then they exchanged a packet of each, and began work on 4 squares. Once they'd each created 4 squares, they sent 1 each to each of the four women and assembled them! don't you love that idea? Here's the photos of what they did. Thanks Jonell Harvey, Erin Garmon, Annie Tinnesand and Shelley Boose--you're the best!!
Annie selected the paper
Jonelle chose the fabric
Erin chose the thread, wire, yarn

Shelly collected the buttons and beads

Four squares from one artist, before sending 3 of them off.

Four squares from one artist, before sending 3 of them off.
(You can see how with the even exact same
materials, each one looks so unique.)

And here, the four squares meet.
A section by Annie, Shelley, Erin and Jonelle.

Wednesday, October 20, 2010

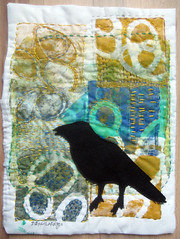
crow calculations

 I just added this and some other pieces to my JaneVille Etsy shop. Check them out!

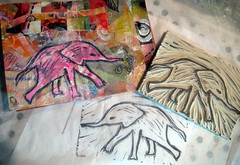
elephant walk

 Of course, you know I've got lots going on right now. The Quilt Visions reception and panel this weekend at Oceanside Museum of Art, and Houston International Quilt Festival in early November (I'm teaching two Make-It-University workshops) BUT, I just had to carve this elephant stamp yesterday for my small BIG BOOK.

QUILT VISIONS 2010: NO BOUNDARIES at Oceanside Museum of Art

Preview Reception
Saturday, October 23, 5:00-7:00 pm
$10 Nonmembers
Complimentary OMA and QV members
Artists' Talk
Sunday, October 24, 11:00 am (I'm one of the artists!)
$20 Nonmembers

Balancing Act: The Art of Being an ArtistPanel Discussion Sunday, October 24, 2:00 pm $20 Nonmembers
Judith Content, moderator
Panel: Deidre Adams, Jane LaFazio, Gloria Hansen, and Katie Pasquini Masopust

Tuesday, October 19, 2010

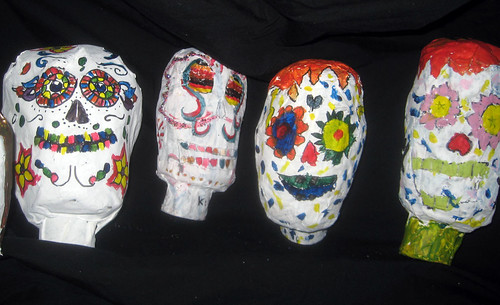
Tutorial: Papier Mache Skulls


Dia de los Muertos is celebrated November 1. I love the imagery and symbolism of Day of the Dead, so decided to make my own calaveras from papier mache (and teach my Mundo Lindo kids to make them too.)
Materials:
  • liquid starch
  • newspaper
  • masking tape
  • gesso (or white primer paint)
  • acrylic paints  
    ;

    1. With 1/2 sheets of newpaper, crunch and shape into a ball shaped head. Wrap in masking tape to shape the head and secure the shape
    
2. tear strips of newspaper

3. Dip strips in undiluted liquid starch. Run the strip between two fingers to remove excess liquid.

4. Wrap the head in overlapping strips of newspaper. (Dip each strip in liquid starch and apply one at a time.)


5. Shape head with your hands as your work.


6. This is a great project for kids. I taught 15 kids to do this one afternoon.


7. Using a 'slice' of paper tube, create a neck for the head.
Wrap the tube in strips of paper first.

8. Secure the 'neck' with overlapping strips around and inside.

8. Cover the whole shape with 3 layers of paper strips.


9. Let dry for about 2 days. These are the kids' heads.
(They wrote their names on the paper plate, so we could tell them apart.)


10. When the shape is completely dry, paint with gesso
(or white primer paint.) Paint two coats to get it nice and white.

11. Reseach the internet for possible designs.  When the gesso is dry,
lightly pencil your design, then re draw it with
permanent black marker. Paint with acrylics.


I used Collage Pauge with Sparkles and
painted the eyes and some details.
  

Related Posts with Thumbnails