 |
| Tree Dreaming Tree by Jane LaFazio |
 |
| detail by Jane LaFazio |
 |
| ~ 14 inch square artwork by Jane LaFazio |
ScotchBlue Painter's Tape is useful for so many creative projects.
I used it here, to create a tree shape on both paper and cloth.
I used it here, to create a tree shape on both paper and cloth.
 |
| 1. On a piece of plexiglass, create a tree shape using ScotchBlue Painter's Tape |
First, here's how I printed on paper. The plexiglass is my printing 'plate.' (I'm using acrylic paint for this example)
 |
| 2. Brayer over the tape, using acrylic paint. |
 |
| 3. Remove the tape (it comes off easily, all in one piece!) |
 |
| 4. Place your paper (image side down) on top of the plexi and brayer over the back of the paper to create a print. |
 |
| 5. Lift the paper, and here is the print you'll get |
As you can see, the ScotchBlue Painter's Tape served as a mask. In the example below, I created a collage, then printed over it, so that the collage would show through the tree area, masked by the tape.
 |
| In this example, I used the technique described above, but on a collaged paper. |
I actually heard of this idea, from a student who had created a large tree on the wall of her daughter's bedroom, using ScotchBlue Painter's Tape. Then she'd painted over the wall, removed the tape, and had a wonderful slightly abstract tree on the wall! Imagine~then you could go in and paint leaves and birds and all kinds of things on the wall.
.....and I couldn't stop there! I had to try it on fabric too!
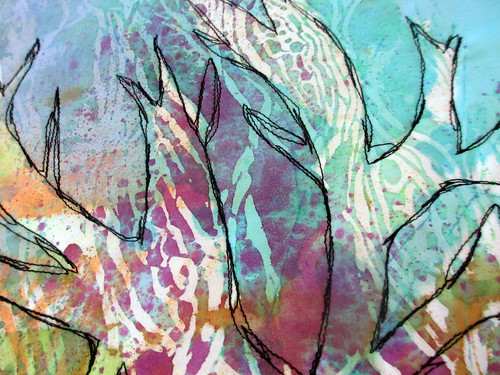 |
| detail of small art quilt, by Jane LaFazio |
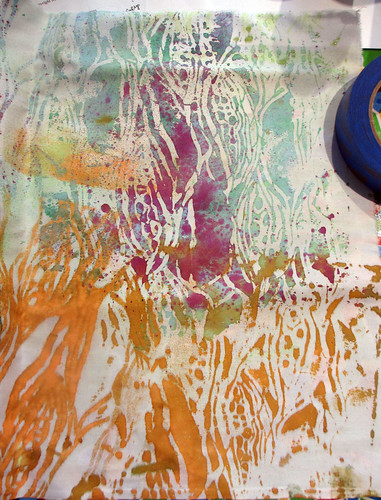 |
| white cotton fabric with pattern created from a stencil |
Remember the fabric I created with my new PODS stencil? I selected a small piece of it to use for the background.
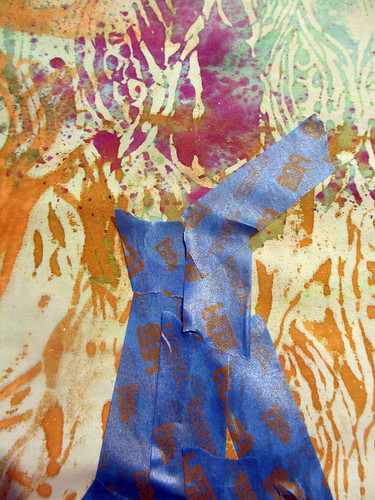 |
| create a tree with tape |
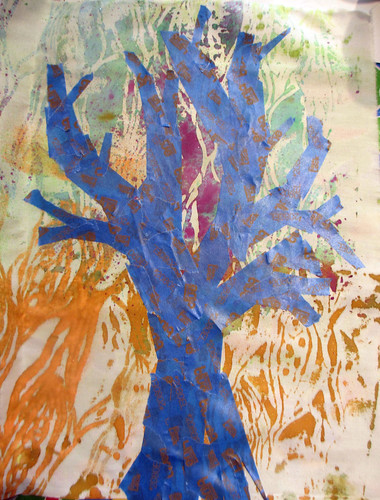 |
| tree complete! |
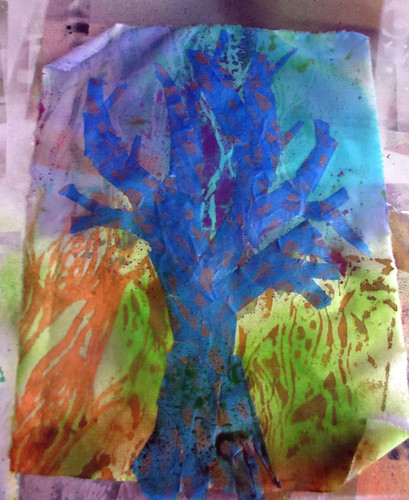 |
| Spray with color |
Then I sprayed with transparent color.
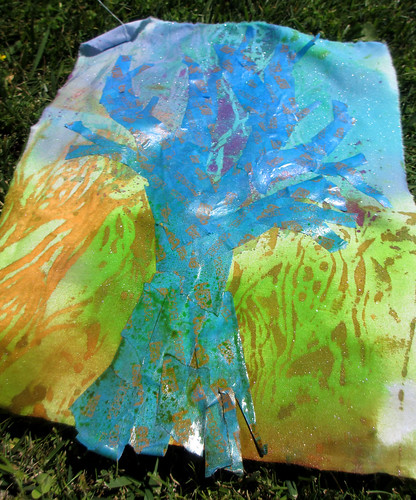 |
| I could have let it dry |
And placed it outside to dry...but I couldn't wait, and pulled the tape off when it was still wet!
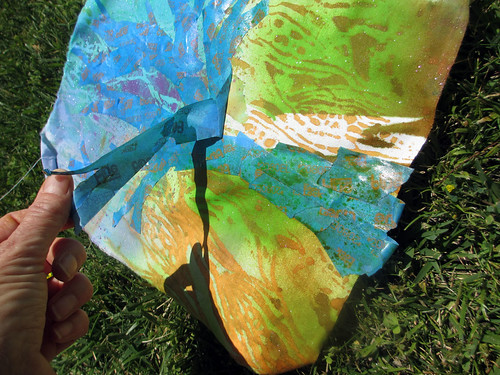 |
| But I couldn't wait and peeled the tape of right away! |
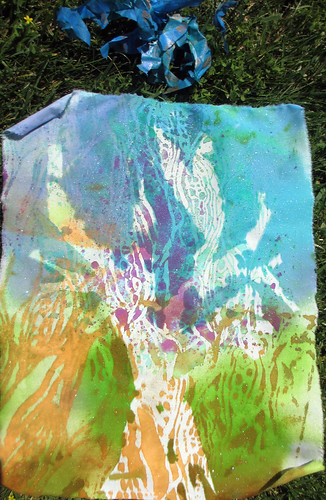 |
| tadah! |
I love it! (Next time, I might have ironed the fabric to a piece of freezer paper, to keep it flat and stationary, then applied the tape, and sprayed it with color.)
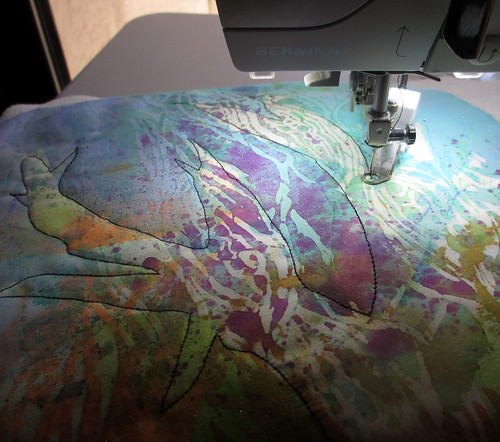 |
| I added a piece of batting to the back and did some free-motion stitching around the tree shape |
Now, I wanted to make a small quilt with it, by adding a piece of batting to the back and doing some free motion machine stitching with black thread.
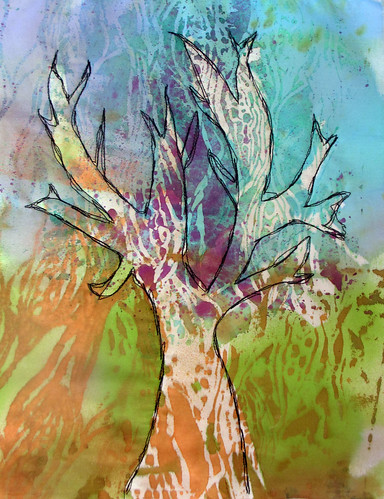 |
| Small art quilt by Jane LaFazio |
This post is a
collaboration with ScotchBlue Painter's Tape, whose dedication to recognizing
and rewarding creativity led to this post. Get started to win some coolprizes by clicking here.


Oh Jane - Your trees are so beautiful! I will so have to try this technique! Have used tape in painting - but not quite this way. Thanks for the "how to"
ReplyDeleteGreat project! Masking is on my list of things to do this summer, so you have inspired me with your tutorial. I love that you did it on both paper and fabric... very versatile!
ReplyDeleteYour blog and artwork is so inspiring! Thank you for sharing the painter's tape technique. I was planning on monoprinting this week. I'll give it a try.
ReplyDeleteJane you are so creative! This is a great idea and I love the quilted piece. Definitely going to try this technique.
ReplyDeleteWonderful inspiration! Since I just painted the walls in our home I have some painter's tape leftover. Now I know what to do with it.
ReplyDeleteI love your trees Jane, especially the stenciled fabric one. You're such an inspiration.
ReplyDeleteI really love the trees, especially the Dreaming Tree. Thank you for showing this technique and providing the inspiration.
ReplyDeleteLove your tree collages Jane!!! What a fun idea /technique to try.Thank you!
ReplyDeleteI love the movement ans texture in the background of the quilt. This sounds interesting. I've pinned several trees to paint on my daughters wall when she moves to the bigger bedroom next month. Her big sister painted it canary yellow so that's the first thing to go! Not soothing for a child with down syndrome and epilepsy! But it was perfect for a twenty something recovering from divorce! Keep up the good work- so inspiring for those of us with a creative heart!
ReplyDeleteYou always share such cool ideas. I especially love the print over the collaged paper background.
ReplyDeleteHi Jane! What an intriguing and inspiring tape tutorial! Thanks for sharing several projects, to give us an idea of all the various ways this supply can be used in our art!
ReplyDeleteWhat a great tutorial. I have some "paper cloth" I made and wasn't sure what else it needed. I'm thinking this technique might just be what it needs.
ReplyDeleteWhat a great idea -- I may have to try it!
ReplyDeleteDes idées plein la tête ! C'est merveilleux, quelle superbe publication ! Des arbres heureux qui nous enchantent. Merci pour l'ensemble de vos photos...
ReplyDeleteGros bisous, j'essaierai de revenir vous faire un petit coucou avant mon départ, autrement je vous dis à la mi-septembre.
Love this idea!
ReplyDeletewow -- what a fun project! I just found your blog and am inspired by all you are doing! thanks for sharing -- I'll be back again for sure!
ReplyDeleteThis is absolutely Fabulous!!! Thank you so much for sharing and posting. Your work is such a boost of inspiration! deborah stanley
ReplyDelete