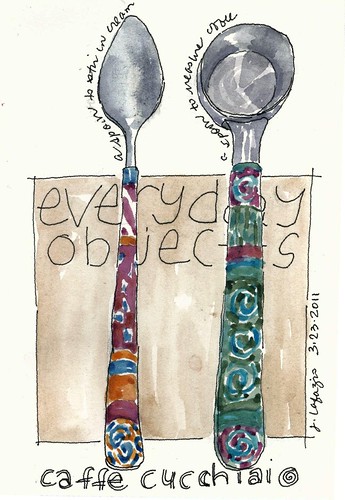
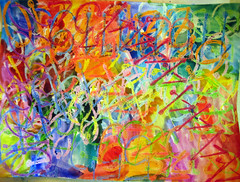
I love cutting my own stencils from freezer paper. And why not carry on with my recent theme of my sketchbook pages of everyday objects. I started this as a background, or sampler, to show you how it's done.
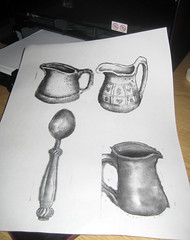
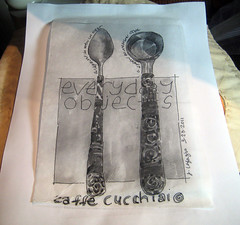
 I printed out my sketchbook images on to freezer paper (I used my laser printer and printed in b&w, but it doesn't make any difference. Inkjet is fine.)
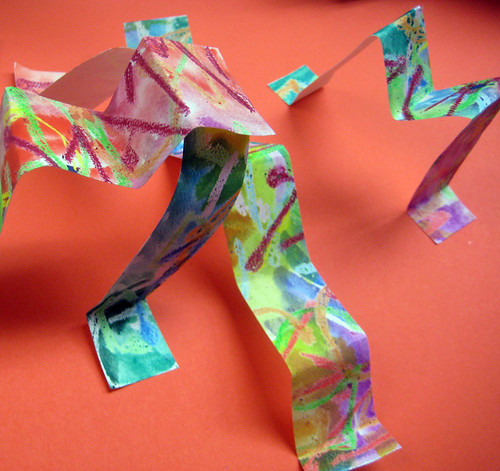
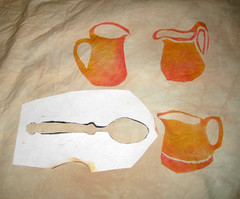
Using an x-acto knife, I cut away the part that would be filled with color. (I've laid the stencil on a colored paper, so you can see the part I've cut away.)
I printed out my sketchbook images on to freezer paper (I used my laser printer and printed in b&w, but it doesn't make any difference. Inkjet is fine.)
Using an x-acto knife, I cut away the part that would be filled with color. (I've laid the stencil on a colored paper, so you can see the part I've cut away.)
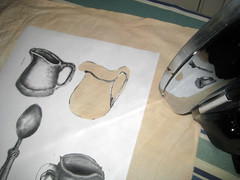
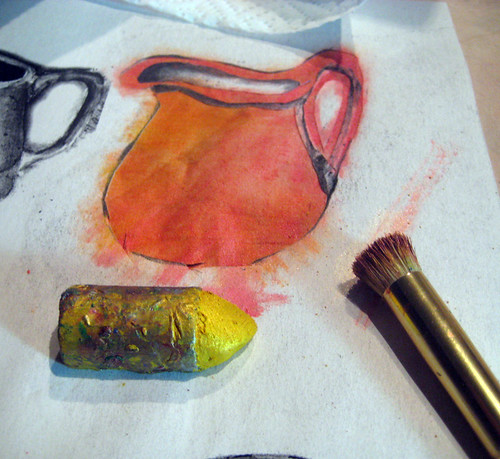
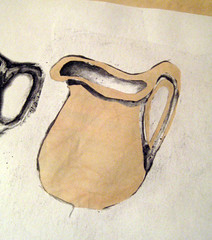 Iron the freezer paper to fabric. (I'm using my tea-stained cotton). Notice how I added the cut out pieces of freezer paper to get the interior and handle.
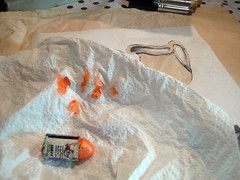
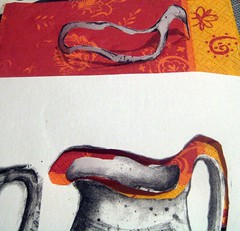
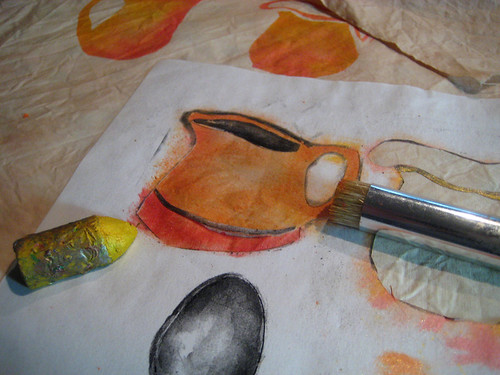
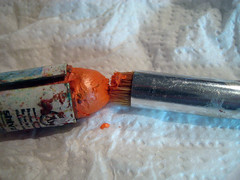 I'm using Shiva Paintstiks (oil paint in a crayon form). I prefer the
iridescent colors. You clean off the tip, to remove the skin that has formed, and then use a stencil brush.
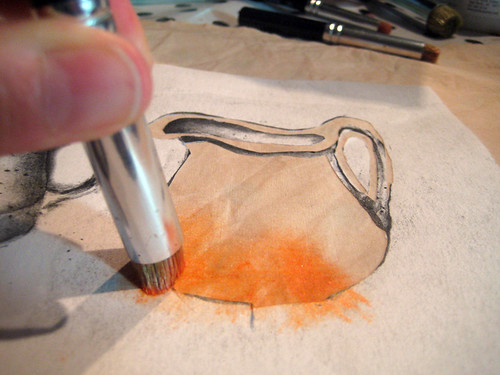
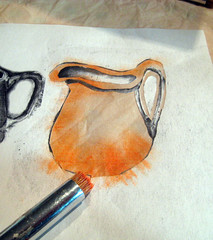
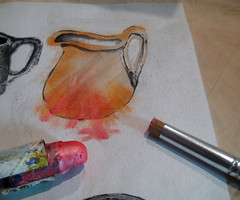
 The key to this is blending different colors.
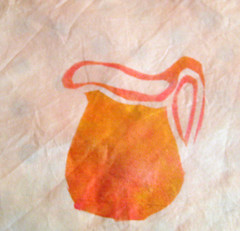
 Remove the freezer paper.
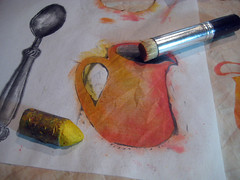
I'm using these images as a background, so on to the next. Cut out with an Xacto knife, iron on the freezer paper, careful not to touch the previous 'wet' image. Add color with a stencil brush.
Remove the freezer paper.
I'm using these images as a background, so on to the next. Cut out with an Xacto knife, iron on the freezer paper, careful not to touch the previous 'wet' image. Add color with a stencil brush.
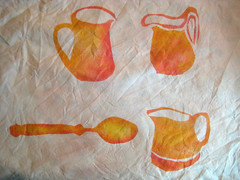
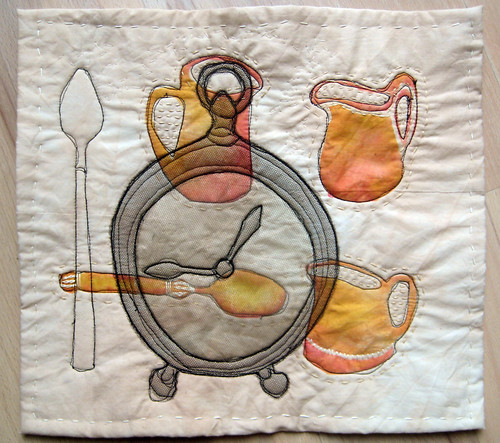
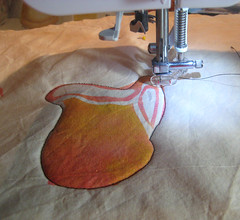 (Note: let paintstiks dry overnight, and iron/heat set.) I added batting to the back of the fabric, and began a little machine free motion stitching in black thread to mimic the drawn pen line from my sketchbooks.
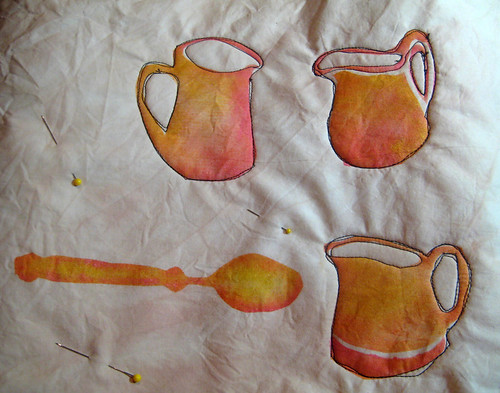 I stitched around the spoon, and thought, okay, what next? A focal point of some kind would be nice.
Warning, this is where you may be come confused. It's not you.
I finished off the edges of the little quilt, and did a little hand sewing, thinking about what would come next. I decided on the clock image. Printed it out on deli wrap, pinned it on the back, and stitched from the back. (here's my short tutorial on this process) THEN, I added two layers of black tulle to the front, and stitched around the clock again from the front.
I stitched around the spoon, and thought, okay, what next? A focal point of some kind would be nice.
Warning, this is where you may be come confused. It's not you.
I finished off the edges of the little quilt, and did a little hand sewing, thinking about what would come next. I decided on the clock image. Printed it out on deli wrap, pinned it on the back, and stitched from the back. (here's my short tutorial on this process) THEN, I added two layers of black tulle to the front, and stitched around the clock again from the front.
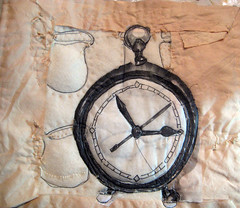
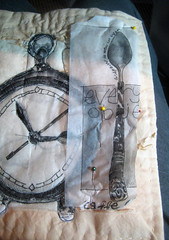
 Clock on the back of the quilt.
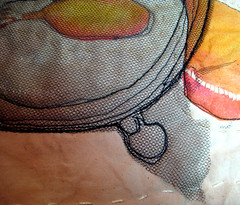
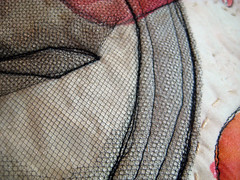 I cut away the tulle, around the clock silhouette, and cut away one layer of tulle from the interior of the clock.
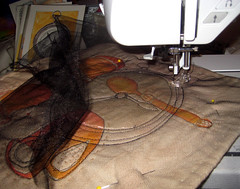
It still needed more, so I printed out my spoons and used one for the image. Pinning the image on the back and sewing from the back.
I cut away the tulle, around the clock silhouette, and cut away one layer of tulle from the interior of the clock.
It still needed more, so I printed out my spoons and used one for the image. Pinning the image on the back and sewing from the back.
.
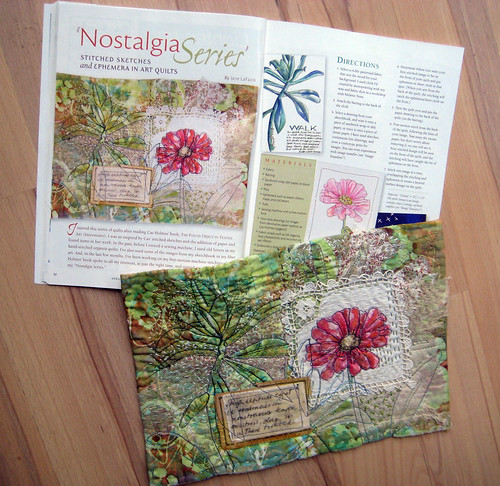
So, here it is. It's not done, it still needs something. I'm thinking I'll add some text from an old book..I'll let you know.
Check out my teaching schedule here.