
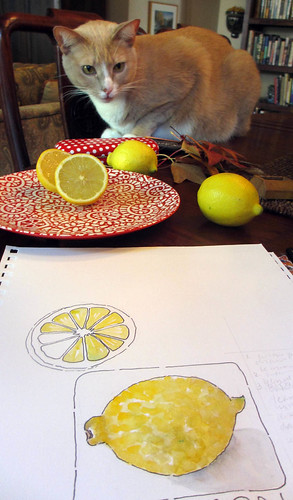
I teach "Sketching and Watercolor: Journal Style" online. If you're wondering what those lessons are like, here you go. You'd get all this in a pdf document and plus critique from me, and comments from the other students in the class. You'd be able to see their work too.
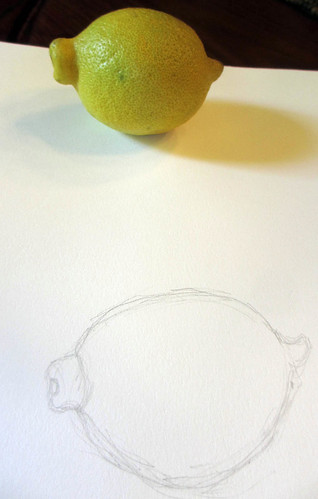
1. Hold your pencil loosely, and lightly sketch the object. Think about placement on the page, and size.
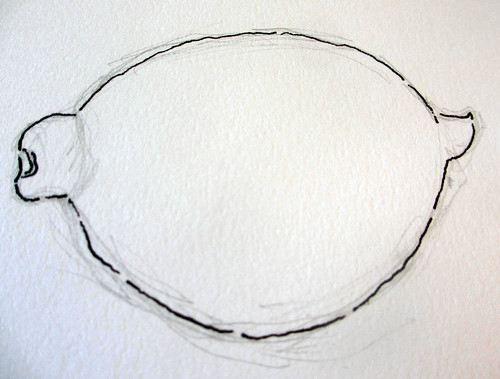
2. Once you're happy with the drawing, go in a little darker, with pencil to refine it. Then, ink the outline with permanent, waterproof pen.
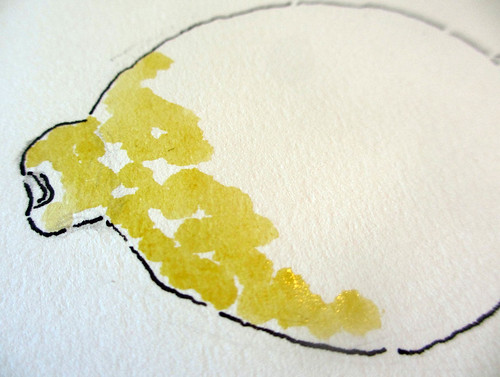
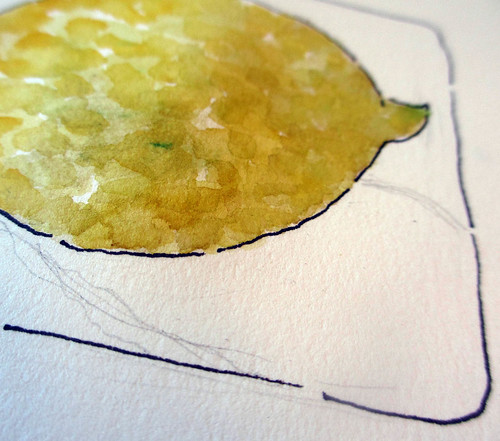
3. I have two yellows in my palette. Mix up a bit of lighter yellow on your palette and daub the color in, leaving lots of white. (I'm using this painting technique to depict the texture of the orange peel.)

(Oops, my brush had a bit of green on it and made that darker spot in the middle. oh well...)
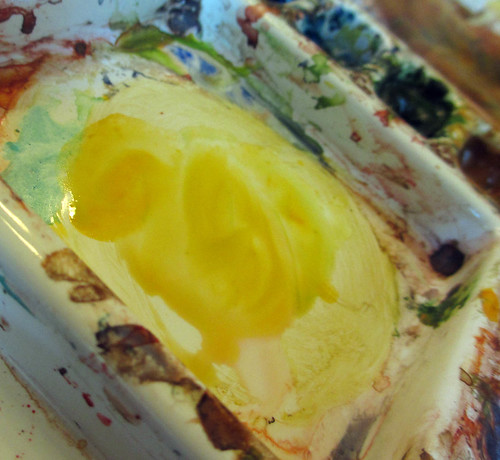
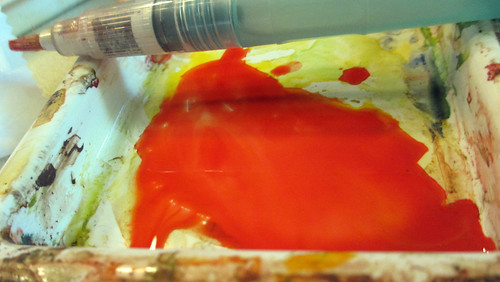
note: Always mix the color in your palette and paint from that puddle of color. (Yes, my palette is well-used.)

4. Let it dry, and then do the same with a slightly darker shade of yellow.
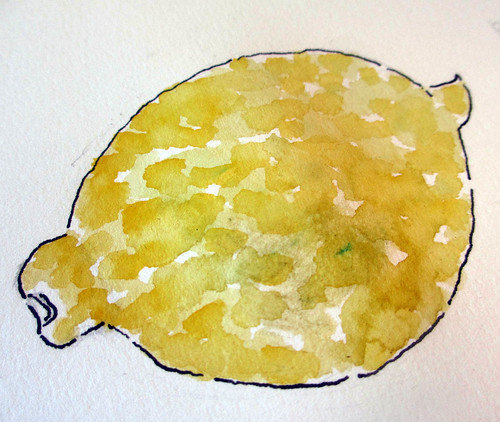
note: I'm still leaving the white of the page, and now you can see the lighter yellow underneath.

5. Mix up a bit of color to shade the lemon. I mixed a bit of green with yellow.
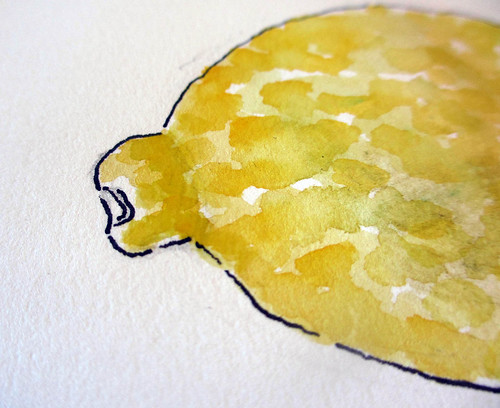
See how I added the darker, yellow green, at the base of the stem area.

And I also shaded the bottom of the lemon.
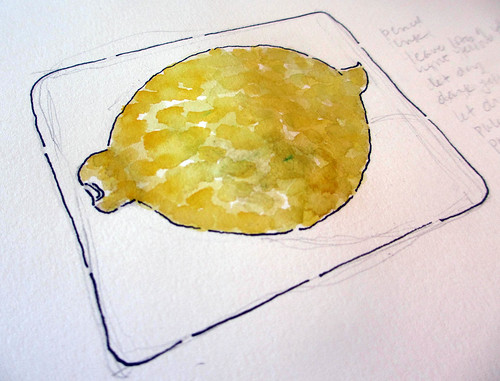
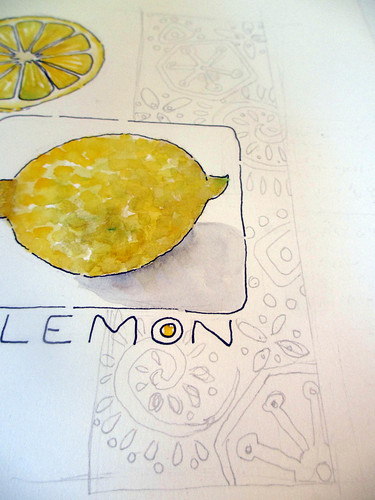
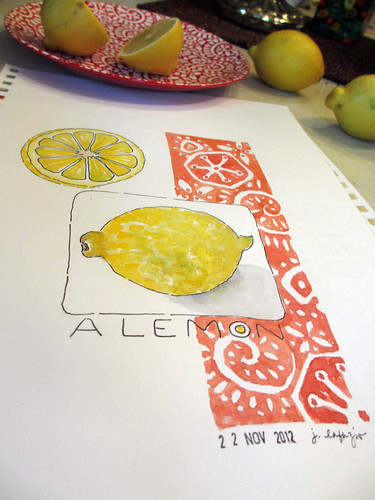
6. I want to include the shadow beneath the lemon, but it's a long shadow, and if I paint the whole shape, it will be larger than the lemon and overpower it. So I penciled in a frame around the lemon. Then drew the shadow with pencil. (Tip: put your object on a white paper to begin, so you can see the shadow easily.)

7. Mix up some grey for the shadow. I always use ultramarine blue and brown to mix up grey.
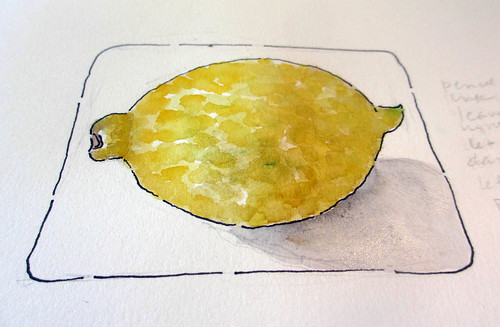
8. Paint the shadow, with a dark stroke of color right up to the edge of the object, then quickly rinse the color off your brush and with a clean brush, pull/wick/ paint the color to the edge. The water will lighten the grey.
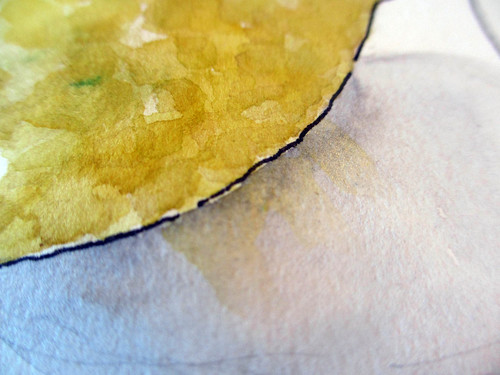
9. While the shadow is still damp, but not too wet, add a teeny bit of the color of the object (in this case, yellow) to the shadow for the reflection.
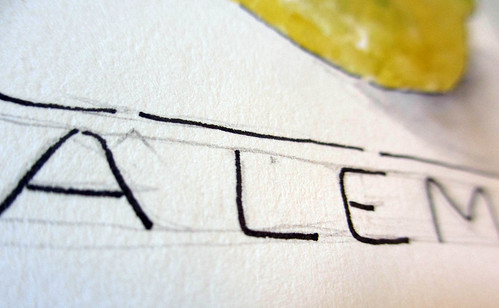
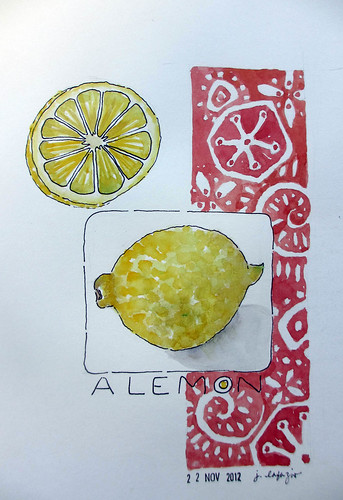
10. I felt the noble lemon needed a title. I drew guidelines and penciled in my lettering, before I inked it.

11. Erase all the pencil, when the paint is completely dry.

12. Cut the lemon. (Notice the pattern on the plate. That's where I got the idea for the pattern on my sketchbook page.)
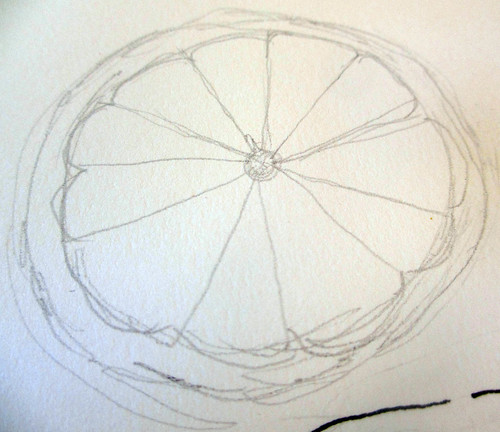
13. Again, a very loose pencil sketch.

14. Refine it a bit, still in pencil.
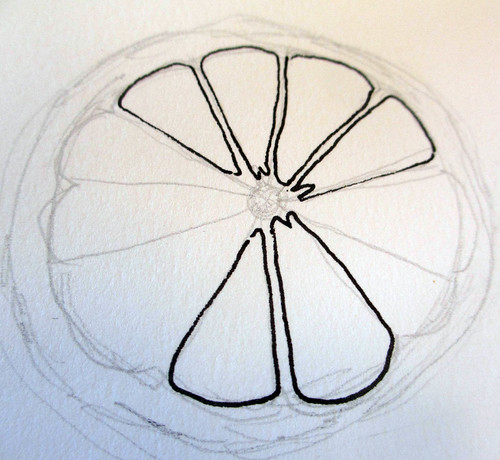
15. Ink in your lines, still looking closely a the object.
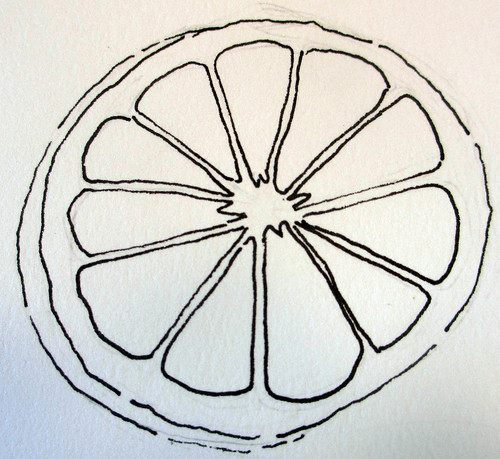
16. Erase the pencil.

17. Paint one section at a time. Note how I'm leaving lots of white, in the direction of the lemon sections.

18. I painted the 'lines' in yellow, then, while it's still wet, painted a little darker yellow to blend the outside edge, where it appears darker.
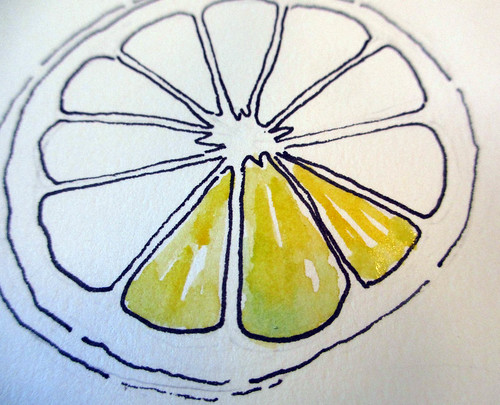
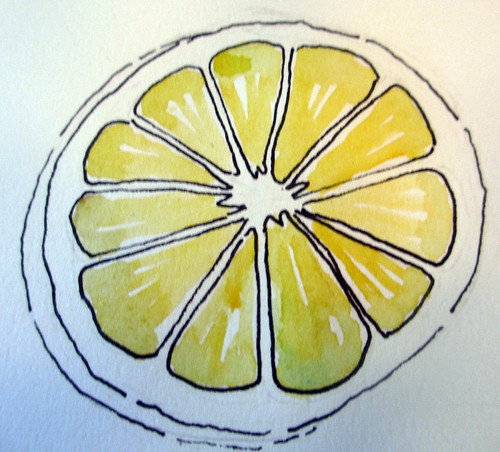
I painted all the sections in a lighter yellow and let it dry.

19. Then I went in with a slightly darker yellow, and painted it the same way. Leaving lots of white, and letting the lighter yellow show through.
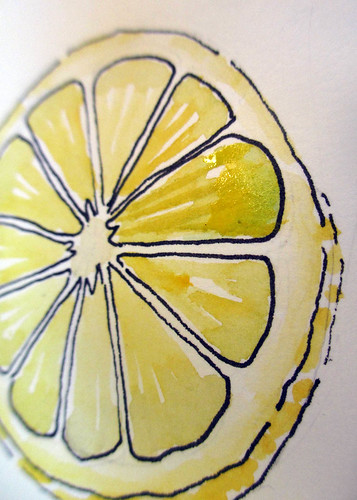
20. I painted the bit of outside skin, in dark yellow and a pale yellow for the interior rind.
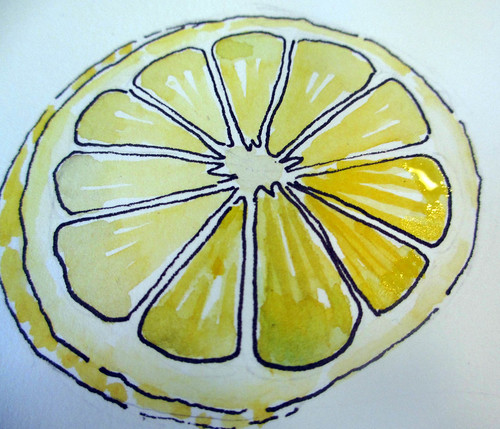
The page needed something else, and I was inspired by the design on the plate. I drew a variation of it, in pencil first, deciding on where to place the panel of color on my page.
Yes, I use my Niji Waterbrush for nearly all the painting in my sketcbook.
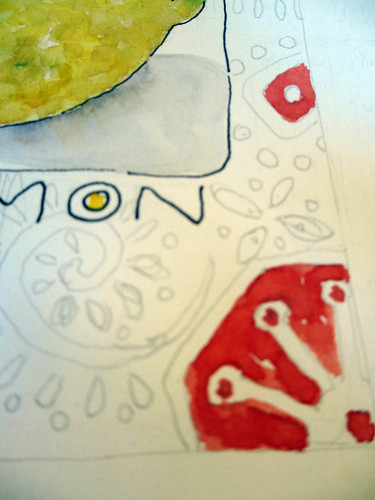
I painted in the negative space (and it was easy to get confused!)
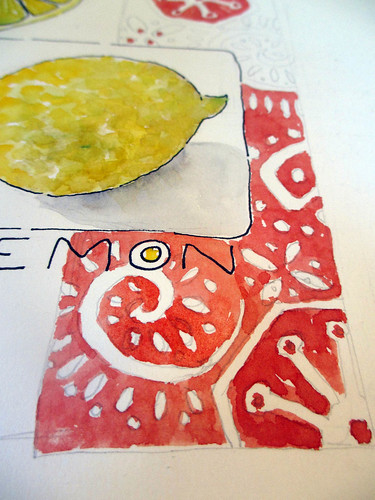
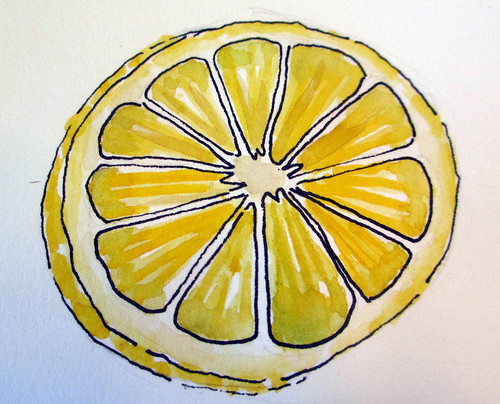
When complete, erase all the pencil, date and sign your page.
I'm planning some new online classes for 2013, so do go to my website and join my email list to sign up for my newsletter. You'll be the first to know about my upcoming classes.
Remember, draw what you see, not what you think you see.
THank you for the lesson. ;) I'm off to paint a lemon!
ReplyDeletethanks for sharing your tips and technique , i think your art is amazing
ReplyDeleteAwesome tutorial - love it. Thanks for sharing!
ReplyDeletewow! good, simplified, step-by-step directions. I'm imagining how much time it takes to stop and photograph so often, and it certainly is effective. Nancy L.
ReplyDeleteThanks for the great tutorial! I really like the red doodling that you added!
ReplyDeleteAs usual, awesome job, Jane! I really like the addition of the plate pattern. Very nice!!
ReplyDeleteThanks for sharing...I'm a big fan!
ReplyDeleteOh -- too cool -- I'm backing away from the computer now and going to get out my paints! Thanks!
ReplyDeleteWhat a wonderful tutorial, thank you ... I'm hoping to be able to join one of your online classes in 2013. Cheers.
ReplyDeletelove it. thanks for the tutorials. happiness on a page!
ReplyDeleteEnjoyed your tutorial very much. Was thinking about taking your on line class. After seeing how well your tutorials are done, I will definitely be signing up.
ReplyDeleteJoan