
Yes, I still do have pages left in the cookbook from my dad... and I'm still making stuff from the pages of the book. Inspired by "Playing with Books" I've created my own project.
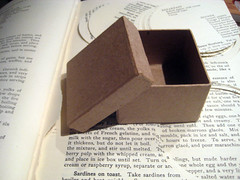
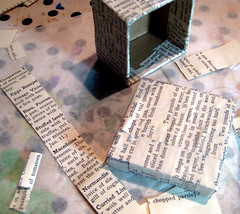
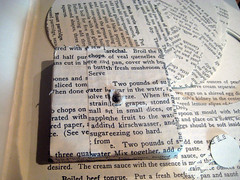
I used a little papier mache box from the local craft store. They come in all sizes and shapes. I cut strips from the book pages, and covered the box lid and bottom, using acrylic matte medium as my glue.
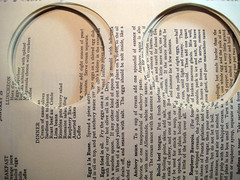
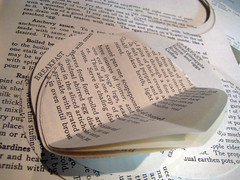
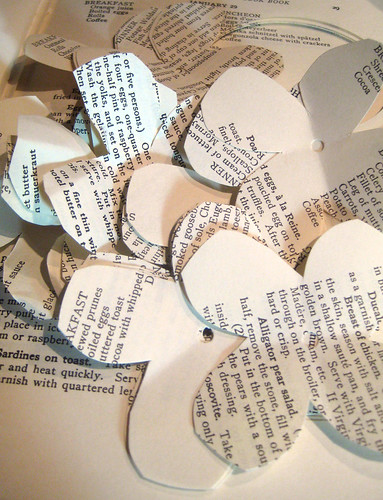
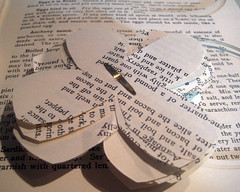
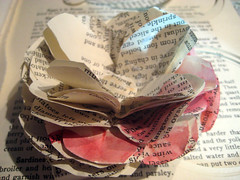
I used a 3" circle paper punch and cut a bunch of circles. I started by folding them in quarters.
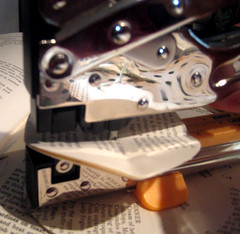
I have a whole punch that can reach the center of the 3" circle. I punched holes in the center of my circles and cut the petal shapes.
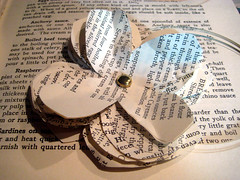
I used a brad to hold the flower petals together.
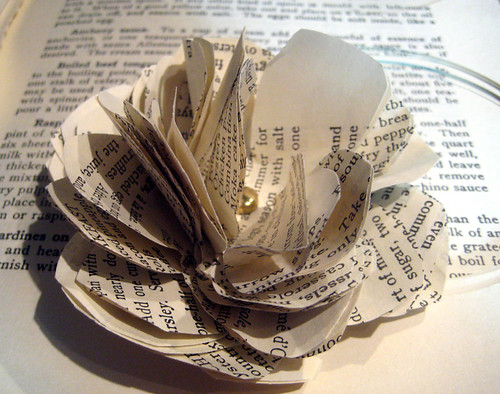
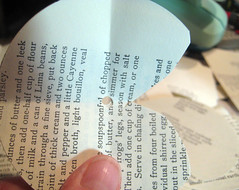
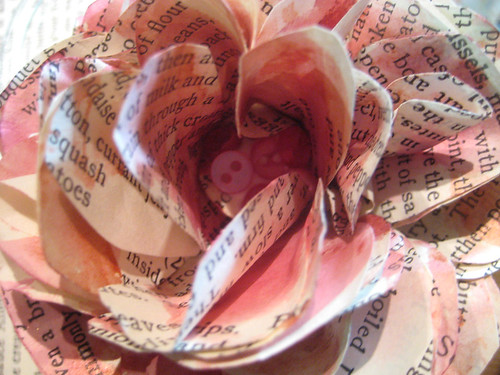
I shaped each petal with my fingers.

Punched a smaller circle to cover the brad in the center of the flower, and glued it on.
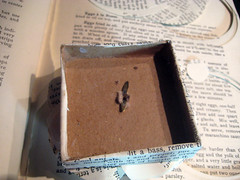
With scissors I made a hole in the top of my box and attached the flower with the brad. I could have covered the brad on the inside with another paper circle to be neater.

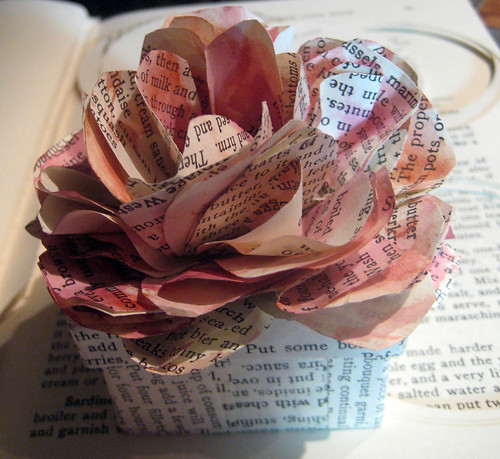
Got out my Luminarte Twinkling H20's and used the Jasper Red and plenty of water to randomly color the flower petals.
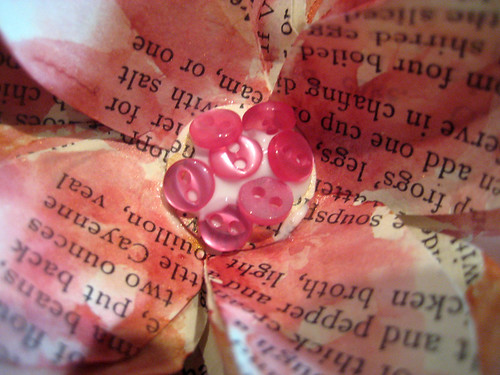
I dropped a bit of glue in the center of the flower, and sprinkled tiny pink buttons.
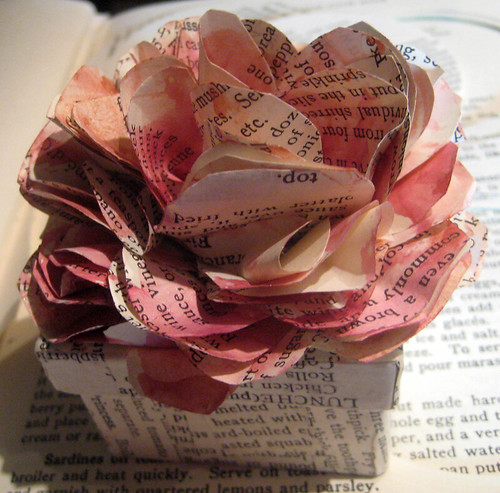
I'm inspired to do more...different types of flowers, different box shapes...oh my... You can check my earlier post here, to see what else I've done with book pages.
Jane that is wonderful! It will be wonderful for a Mother's Day gift box. The book is on my list the next time I go into town, but I have to order the twinkling H20s. Have fun on your trip!
ReplyDeletethis box and flower are so simple and yet so beautiful! thanks so much for showing us how to make one.
ReplyDeleteSuch sweetness... thank you for sharing this tutorial!
ReplyDeleteIt's so beautiful, Jane!
ReplyDeleteI love your blog and your creativity. I am going to give this a go and I am also going to share it with my classmates doing the Holey Moley "FLower Power" class with Dale from the Thread Studio. Thanks so much
ReplyDeleteWhat a fabulous project! I absolutely love the look!
ReplyDeleteLove it! Thanks for the toot!
ReplyDeleteSo very cute and easy! Thank you!
ReplyDeleteAbsolutely gorgeous!
ReplyDeleteCool project!
ReplyDelete