
 |
| "Nostalgia Series: Zinnia" in progress by Jane LaFazio |
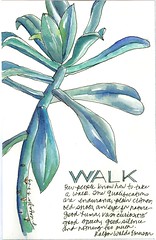 |
| from my sketchbook (5x7Inches) by Jane LaFazio |
 |
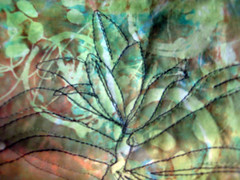
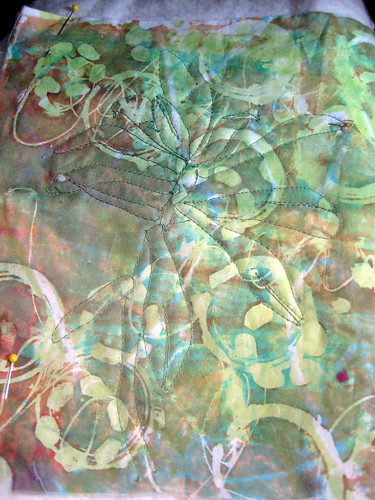
| in progress by Jane LaFazio |
 |
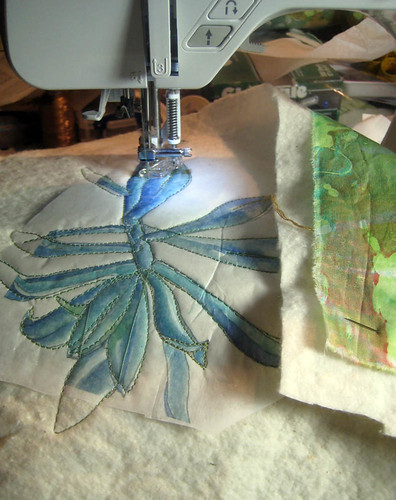
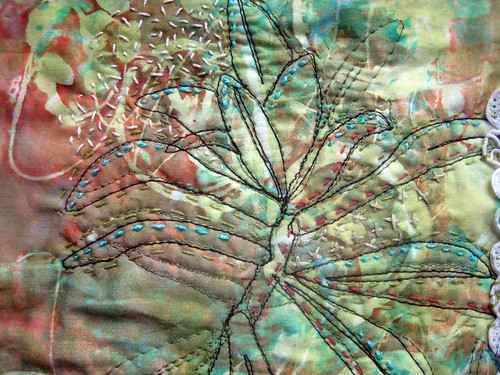
| in progress by Jane LaFazio |
 |
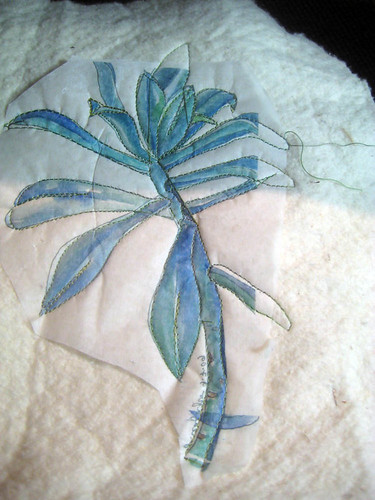
| in progress by Jane LaFazio |
 |
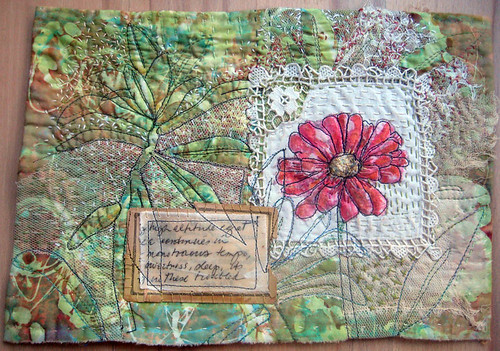
| "Nostalgia Series: Zinnia" in progress by Jane LaFazio |
 |
| "Nostalgia Series: Zinnia" in progress by Jane LaFazio |
 |
| "Nostalgia Series: Zinnia" in progress by Jane LaFazio |
 |
| "Nostalgia Series: Zinnia" by Jane LaFazio (sold) |
Great step-by-step visuals! Good idea about printing onto the lighter weight paper, then sewing. I'm also still practicing free-motion but am completely in love with it!
ReplyDeleteAmen on getting better with FMQ. It reminds me of the joke about how do you get to Carnegie Hall? Practice, practice, practice!
ReplyDeleteHello, thank you so much for sharing your process, I love these pieces you have stitched! Very inspiring! All the best from Karen
ReplyDeleteThis is just so beautiful. Number one piece of advice about FMQ I ever received? Breathe!
ReplyDeleteSomptueux travail... Bisous et joyeuse année à vous.
ReplyDeleteBisous
Being a very traditional quilter (so far, but I'm learning to loosen up!!) the idea of FMQ stitching first on the back and then again on the front as you have done, just never occurred to me, but now I can hardly wait to get to my sewing machine this morning!! FMQ is lots of fun, relaxing and almost hypnotic sometimes, and was my first step past traditional quilting. If I was rich, I'd fly to California and take one of your classes!!
ReplyDeleteLooks fabulous, love what youve done here with this, and thankls for the info on how youve achieved it.
ReplyDeleteLyn
Very interesting technique with the deli wrap. Where did you get the wrap?
ReplyDeleteVery interesting piece. Will keep my eyes open for the finished piece.
Happy New Year,
jojo
Truly 'mixed media'- sketch, soy-wax, mono-print, FMQ, hand stitching, fabric collage, printing, photography and bloggng! Really enjoyed the post.
ReplyDeleteYou are getting so good with these tiny tutorials! I especially like the added linen piece. It gives me ideas for mine. You did a great job integrating it.
ReplyDeleteThanks!
BEautiful Jane!! Love seeing the process and your fme work is getting really good!! It is really such fun once the confidence kicks in !!!
ReplyDeleteThis is wonderful...I just don't like the practice practice practice part!
ReplyDeleteLove this, so nice to see all these different techniques come together in one piece.
ReplyDeleteThanks for sharing your process. Did you use an ink jet printer to print your drawing and tear off the paper after you quilted the design?
ReplyDelete@JoJo: I get the deli/sandwich wrap at costco or smart & final. @giddy up: I used an inkjet printer, and only tore part of the paper off--the part that was easy! left the rest of it there, and will cover it with a backing.
ReplyDeletethanks everyone!!
Jane
Beautiful work!
ReplyDeleteWonderful, I love your idea of starting the stitching from the reverse side. Yes FMQ is a leap of faith and keep your fingers clear. I find that once I get going with it I have a lot of fun.
ReplyDeleteThanks for sharing.
Ellen
I learned a lot here Jane! Thanks for sharing your process.
ReplyDeletexo
I have been trying to remember these techniques, and am so glad to have refund this tutorial of yours! It has been driving me crazy for the past week - and finally I've found it! Thank you again so very much for sharing so many of your wonderful techniques FREELY!
ReplyDeletexxoo